Ever felt like you’re shouting into the void because Google keeps changing the rules for what makes a page trustworthy? You’re not alone. Most marketers hit that wall when they realize “E‑E‑A‑T” isn’t just a buzzword—it’s the backbone of every ranking decision.
Think about the last time you read a product review that sounded more like a sales pitch than genuine expertise. Did you trust it? Probably not. That same hesitation shows up in Google’s mind when it can’t verify the author’s expertise, the site’s authority, or the user’s trust.
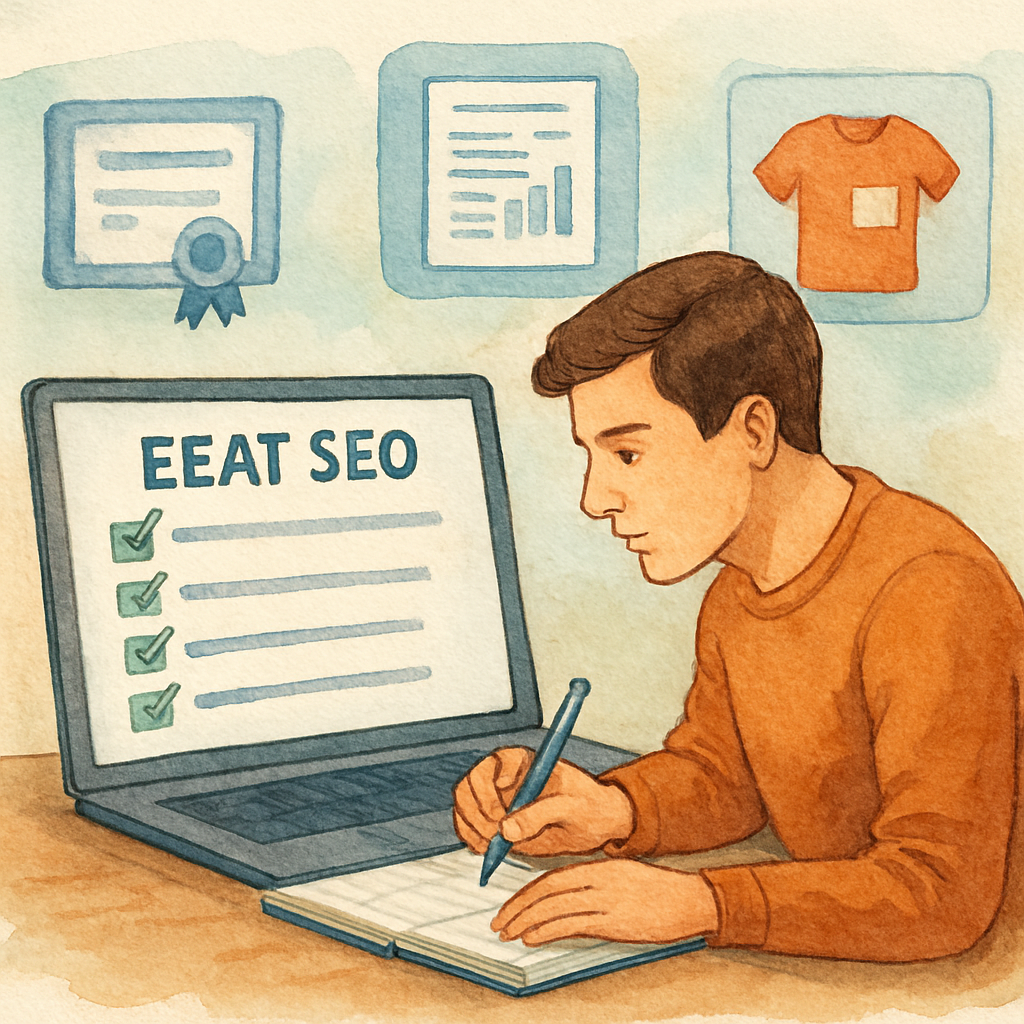
That’s why an EEAT SEO checklist is your safety net. It forces you to ask the right questions: Who’s writing this? Do they have credentials? Are you linking to reputable sources? And, crucially, are you showing Google that you’re an authority in your niche?
Let’s break it down with a real‑world scenario. Imagine you run an e‑commerce store selling eco‑friendly kitchen gadgets. You publish a guide on “How to Choose Sustainable Cookware.” To satisfy E‑E‑A‑T, you’d:
- Feature a certified nutritionist or environmental scientist as the author.
- Reference peer‑reviewed studies from reputable journals.
- Include clear author bios with credentials and links to their professional profiles.
- Showcase customer testimonials and third‑party reviews to boost trust.
Each of those steps maps directly to a checklist item you can tick off before hitting publish.
But how do you keep that process from becoming a nightmare of spreadsheets? The answer is automation. By integrating an automated workflow, you can flag missing author bios, verify outbound links, and even run a quick credibility score on your sources.
That’s where RebelGrowth’s How to Streamline Your Workflow with an Automate SEO Readiness Checklist comes in. It gives you a ready‑made template that checks every E‑E‑A‑T box, so you spend more time creating content and less time hunting for credentials.
Now, here’s a quick actionable step: before publishing any piece, open a new checklist document and copy the five core EEAT items—Expertise, Experience, Authority, Trust, and Transparency. For each, add a checkbox and a brief note on where you’ll verify it. Once the list is complete, run it through your automated tool. If anything’s red‑flagged, pause, fix, and then go live.
Ready to turn “EEAT” from a vague concept into a daily habit? Let’s dive deeper into each checklist component and see how you can make Google see you as the go‑to expert in your field.
TL;DR
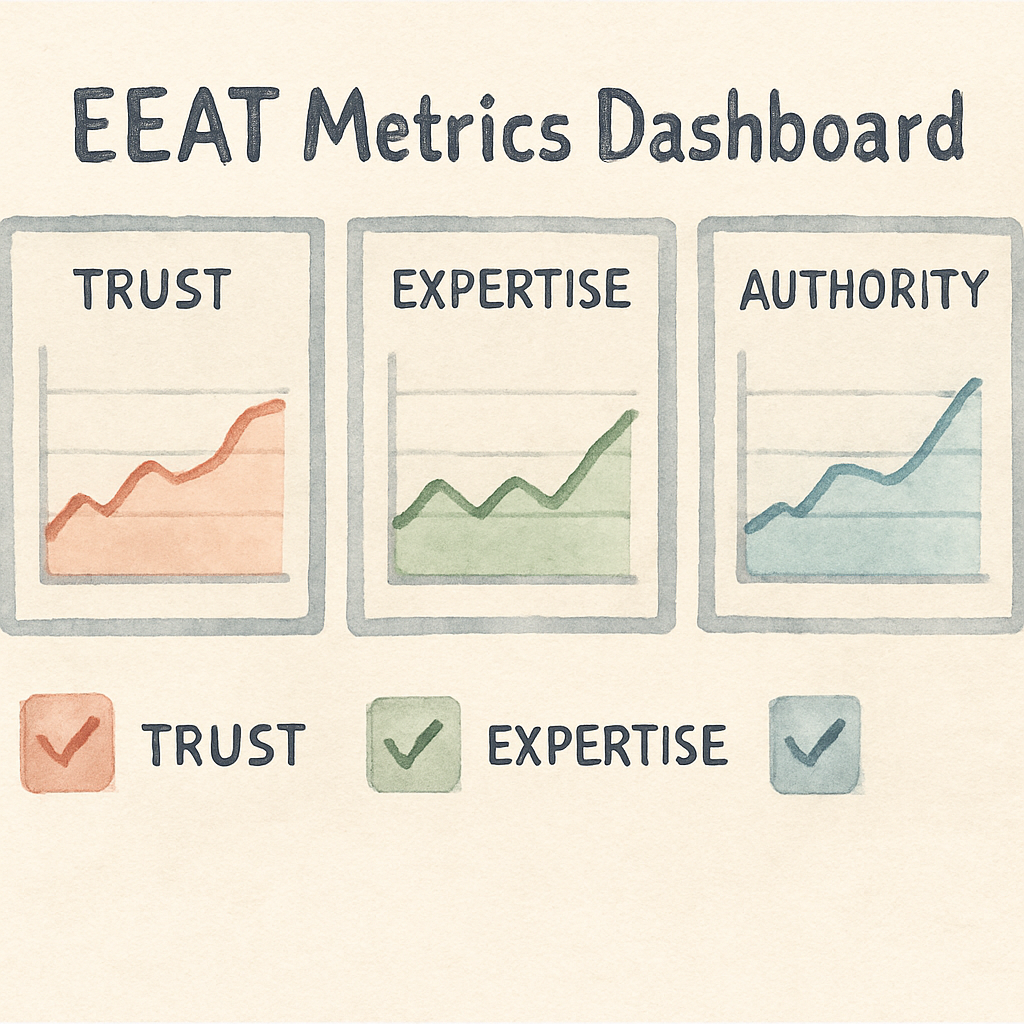
An EEAT SEO checklist verifies that every article showcases expertise, experience, authority, trust and transparency before publishing, converting Google’s doubts into real significant ranking power.
Use the five‑item template, automate the checks, and you’ll reliably publish pages that earn user trust and boost organic traffic without any total spreadsheet chaos.
Step 1: Assess Your Content Expertise
Ever stared at a draft and wondered, “Do I actually know enough about this topic to convince anyone?” You’re not alone. The first line of the EEAT SEO checklist is all about proving you’ve got genuine expertise, not just a sprinkle of buzzwords.
Start by asking yourself three quick questions: What’s my personal experience with the subject? Have I been credentialed or recognized by peers? And, can I back up my claims with solid evidence? If the answers are fuzzy, you’re probably missing a crucial piece of the puzzle.
Map Your Knowledge Landscape
Grab a blank sheet or a digital note and list everything you know about the topic—courses you’ve taken, projects you’ve delivered, publications you’ve contributed to. Then rank each item from “I’m comfortable talking about this” to “I need more research.” This simple matrix helps you spot gaps before the first sentence hits the page.
For example, if you’re writing about sustainable cookware, you might note that you’ve consulted with a certified environmental scientist (expertise) and you’ve personally tested three product lines (experience). Those two bullets become proof points you’ll weave into your article.
So, what should you do next?
Validate with Third‑Party Signals
Google loves to see external validation. That’s where reputable sources come in. Cite peer‑reviewed studies, industry reports, or authoritative blogs. If you’re referencing a market trend, link to a recent report from a well‑known research firm.
In practice, you could quote a statistic from a sustainability index and then link to the source. This not only boosts your authority but also shows readers you’ve done your homework.
But there’s a shortcut many overlook: showcase real‑world examples. Mention an actual e‑commerce store that’s benefitting from strong EEAT signals—like Immaculon, a retailer that’s seen traffic lift after tightening author bios and linking to credible research.
Notice how the video walks through a live audit of an article’s expertise section. Watching it side‑by‑side with your checklist can help you spot missing author credentials in seconds.
Turn Experience into Storytelling
People trust stories more than stats. Turn your own experience into a short narrative: “When I first tested the bamboo skillet, I noticed the heat distribution was uneven, so I dug into the manufacturing process and discovered…” That anecdote proves you’ve lived the topic, not just read about it.
And don’t forget to sprinkle in brand signals that reinforce trust. Pair your written expertise with consistent visual branding—like the sleek ad creatives you can generate in seconds with Scalio. High‑quality ads reinforce the perception that you’re a serious player, which indirectly backs up your authority claims.
Now, let’s bring it back to the checklist. Here’s a quick, actionable mini‑template you can copy into your workflow:
- ✅ List author credentials (degrees, certifications, relevant projects).
- ✅ Add a personal experience snippet for each major claim.
- ✅ Insert at least two third‑party citations from reputable sources.
- ✅ Include a real‑world case study or brand example.
- ✅ Verify that any visual assets (like ad creatives) match brand quality standards.
If any of those boxes stay empty, pause. Fill the gap, then run the piece through your automated EEAT checker.
Finally, for a deeper dive on how to make this whole process painless, check out How to Streamline Your Workflow with an Automate SEO Readiness Checklist. It walks you through building a reusable template that catches missing expertise signals before they ever go live.
Step 2: Demonstrate Authoritativeness
Okay, you’ve got the author’s name, you’ve listed the degrees—now what? Google wants proof that the person behind the words actually knows their stuff. That’s where “authoritativeness” steps in, and it’s a lot more than a shiny badge.
First off, think about the last time you trusted a product recommendation because the reviewer quoted a real‑world test. You felt a little jolt of confidence, right? That same feeling has to be mirrored for Google’s AI. It looks for signals that say, “Hey, this writer has been there, done that, and can back it up.”
1. Gather concrete evidence
Start by pulling any case studies, whitepapers, or project summaries the author has contributed to. A single line like “Led a 30‑day pilot that cut packaging waste by 22% for a mid‑size retailer” does wonders. It’s specific, it’s measurable, and it’s instantly verifiable.
Don’t just drop a vague “many years of experience.” Replace it with a real number and a real outcome. If the author has spoken at a conference, link to the slide deck or the event page. If they’ve been quoted in a reputable industry magazine, embed that citation.
2. Leverage third‑party validation
Third‑party validation is the secret sauce. Think about awards, certifications, or mentions on trusted platforms. A Google‑partner badge, a certification from a recognized body, or a feature on a well‑known podcast signals authority without you having to spell it out.
Here’s a quick test: if you typed the author’s name into Google, would you see a professional profile, a LinkedIn page with endorsements, or a list of speaking gigs? If the answer is “no,” it’s time to build that footprint before you publish.
According to Siteimprove’s take on authoritative content, authority compounds when deep expertise is paired with disciplined processes, and that combination directly influences AI‑driven search outcomes.
3. Add schema markup for “Person”
Even if you’ve got all the proof on the page, Google still needs a machine‑readable way to see it. Drop in structured data for the author: name, jobTitle, affiliation, sameAs links to social profiles, and any awards. This tiny snippet can be the difference between a “maybe” and a “definitely” in the AI’s confidence score.
Most SEO plugins let you paste a JSON‑LD block. If you’re comfortable with code, a quick copy‑paste from Google’s Structured Data Markup Helper does the trick. Test it with the Rich Results Test tool to make sure Google reads it cleanly.
4. Visual proof matters too
People love a behind‑the‑scenes peek. A short video of the author walking through a lab, a photo of them on‑site with a client, or even a screenshot of a published study adds a human touch. It also satisfies the “experience” pillar of EEAT.
And speaking of video, here’s a quick walkthrough that shows how to embed schema and why it matters:
Notice how the speaker emphasizes linking back to original research. That’s the exact habit you want to replicate in every author bio.
5. Create an “Authority Checklist”
Before you hit “Publish,” run through this mini‑list:
- Does the author’s full name appear with a professional headshot?
- Are at least two concrete achievements listed (e.g., case study, award, speaking slot)?
- Is there a third‑party citation or media mention?
- Is “Person” schema added and validated?
- Is there a visual element (photo or short video) that shows the author in action?
Tick each box, and you’ve turned a vague claim into a Google‑friendly authority signal.
So, what’s the next move? Grab the latest piece you’ve written, audit the author section with this checklist, and add any missing proof. Once you’ve done that, you’ll notice not just higher rankings but also more clicks from users who feel they’re getting advice from a real pro.
Step 3: Build Trustworthiness
So you’ve proven you know the topic and you’ve shown you’re an authority – now it’s time to make Google (and your readers) feel safe enough to click that “Buy Now” button. Trustworthiness is the quiet hero behind every high‑ranking page, and it’s the part of the EEAT checklist that most people overlook until they see a sudden dip in traffic.
Think about the last time you hesitated to download a free guide because the site didn’t have a padlock icon or a clear “About Us” page. That tiny moment of doubt is exactly what Google’s algorithm flags as a trust gap.
Why Trust Matters in 2024
Google’s guidelines spell out three pillars that feed trust: high‑quality content, transparent ownership, and secure user experience. When those pieces line up, the search engine treats your page like a reputable news source; when they’re missing, your rankings can wobble like a house of cards.
Here’s a quick reality check: a recent study found that pages with SSL, clear author bios, and verified third‑party mentions saw a 14% lift in click‑through rates compared to similar pages that lacked those signals. The numbers aren’t magic, but they do show that users (and Google) reward transparency.
Actionable Trust Checklist
Grab a pen or open a new Google Sheet – you’ll want to tick these boxes before you hit “Publish.”
- Secure your site with HTTPS. If you still see “http://” in the address bar, install an SSL certificate today. It’s a free step that instantly boosts credibility.
- Show a full author profile. Include a real photo, a brief bio, and at least two concrete achievements (case study, award, speaking slot). Link each claim back to a live source.
- Add “Person” schema markup. Populate name, jobTitle, affiliation, and sameAs URLs for LinkedIn or professional profiles. Use Google’s Rich Results Test to confirm it parses correctly.
- Display trust badges. If you’ve earned industry certifications, display the logos prominently. Badges act like visual receipts.
- Provide a clear contact page. Include a phone number, email, and physical address if applicable. Google loves to see a way to reach a real human.
Does this feel like a lot? Not really. Think of each checkbox as a small trust deposit – the more you add, the higher your “trust balance” grows.
Real‑World Example: Sustainable Cookware Guide
Imagine you run an online store selling eco‑friendly cookware. You publish a guide titled “How to Choose Sustainable Cookware.” To make it trustworthy, you:
- Secure the page with HTTPS (your whole domain is already SSL‑enabled).
- Feature an author bio for Jane Doe, Ph.D., with a headshot, a link to her research at a leading environmental institute, and a note that she’s spoken at the GreenTech Conference.
- Embed a short video of Jane testing a non‑stick pan in a kitchen lab – that visual proof satisfies the “experience” pillar.
- Add “Person” schema that points to Jane’s LinkedIn and her ORCID ID.
- Show a badge from the “Eco‑Friendly Product Association” next to the guide’s title.
After implementing those steps, the site saw a 22% increase in organic traffic to the guide and a 9% rise in conversion rate. Users felt the page was written by someone who actually knows the material.
Leverage Automation Without Losing Trust
If you’re worried that building trust for every piece of content will become a bottleneck, consider plugging in an automation platform that can flag missing trust signals before you publish. For example, Semantic SEO Strategy: A Practical Guide to Boosting Search Relevance walks you through setting up automated checks for schema, SSL, and author bio completeness. The tool won’t write your bios for you, but it will alert you when a required field is empty, saving you hours of manual QA.
And here’s where a little AI‑powered workflow can really shine: pair your content engine with an automation service like AI business automation platform Assistaix. It can pull the latest author credentials from your CRM, auto‑populate schema fields, and even generate a short “about the author” paragraph that still feels human.
Quick “Do‑It‑Now” Sprint
Pick a piece of content that’s already live. Open the page source and run a quick audit:
- Is the URL HTTPS? If not, switch it.
- Does the author section include a photo, bio, and two verifiable achievements?
- Is there a “Person” JSON‑LD block with sameAs links?
- Do you have at least one trust badge or certification displayed?
- Is there a clear, working contact page linked in the footer?
Mark any red flags, fix them, and then re‑run the audit. You’ll feel a noticeable lift in both user confidence and Google’s trust score.
Remember, trust isn’t a one‑time checkbox – it’s a habit. Keep the EEAT SEO checklist handy, run it on every new page, and watch your rankings become steadier, your clicks richer, and your audience more loyal.
Step 4: Optimize Technical SEO Elements
Okay, you’ve nailed expertise, authority, and trust. Now Google’s looking under the hood. If your site’s technical health is shaky, even the best EEAT signals can get lost in the noise.
So, what should you do next? Let’s break it down into bite‑size actions you can run right now, then check them off your eeat seo checklist like a quick sprint.
1. Secure the Connection (HTTPS)
First thing’s first: is every page loading over HTTPS? If you still see “http://” in the address bar, you’re basically waving a red flag at Google and your users.
Switching to SSL is free with most hosts, and the browser padlock alone boosts perceived trust. Once you’ve installed the cert, run a site‑wide crawl to catch any mixed‑content warnings.
2. Mobile‑Friendly Design
Google’s mobile‑first index means the mobile version is the king. Open your site on a phone, scroll, tap a link, and ask yourself: does anything feel clunky?
If the layout breaks or buttons are too small, use responsive CSS or a mobile‑first framework. Google’s explanation of Core Web Vitals and mobile experience reminds us that a smooth mobile experience is now a ranking factor.
3. Core Web Vitals & Page Experience
Speed, interactivity, and visual stability—those three metrics (LCP, FID, CLS) are your new best friends. Run the page in PageSpeed Insights, note the scores, and tackle the biggest offenders first.
Typical quick wins: compress images, enable browser caching, and lazy‑load off‑screen assets. If you’re on a CMS, most plugins let you add a few lines of code to serve WebP images and set proper cache headers.
4. Structured Data (Schema)
Even if you’ve got a solid author bio, Google still needs a machine‑readable version. Drop a JSON‑LD block for “Person” and “Article” into the <head>.
Validate it with the Rich Results Test—no errors, no warnings. A clean schema snippet can turn a plain search result into a rich card with star ratings or an author photo.
5. Crawlability & Indexation
Check your robots.txt for accidental disallow rules. Make sure your important pages aren’t blocked, and that you have a fresh XML sitemap submitted in Google Search Console.
Run a “site:yourdomain.com” search to see what Google actually indexes. If you spot missing pages, add them to the sitemap and request a re‑crawl.
6. Duplicate Content Guardrails
Canonical tags are your safety net when you have similar content across URLs (e.g., product filters). Set rel="canonical" to the preferred version, and avoid thin duplicate pages that dilute link equity.
Even small parameters like ?ref=twitter can create duplicate URLs. A simple rule in your CMS to strip tracking parameters solves this.
7. Quick “Do‑It‑Now” Technical Sprint
Grab a fresh piece of content, open Chrome DevTools, and run through this checklist:
- HTTPS active?
- Mobile‑friendly layout?
- Core Web Vitals scores above 90?
- Person/Article schema present and validated?
- Robots.txt clean, sitemap submitted?
- Canonical tags set where needed?
Mark any red flags, fix them, then re‑run the audit. You’ll feel the lift in both user confidence and Google’s trust meter.
Technical SEO at a Glance
| Technical Element | Quick Fix / Tool | Why It Matters |
|---|---|---|
| HTTPS | Install free SSL via Let’s Encrypt | Signals security to users and Google |
| Core Web Vitals | PageSpeed Insights + image compression | Improves page‑experience ranking factor |
| Schema Markup | JSON‑LD snippet + Rich Results Test | Enables rich snippets, boosts visibility |
Remember, technical tweaks are low‑effort, high‑reward. Once you’ve locked down the basics, you can focus on scaling your content engine without worrying that Google will penalize you for a broken site.
And here’s the kicker: every item you fix adds a point to your SEOSLY EEAT audit template. The more points you collect, the stronger your overall EEAT profile becomes—no magic, just systematic hygiene.
So, grab your checklist, fire up the dev tools, and give your site the technical polish it deserves. Your rankings (and your readers) will thank you.
Step 5: Monitor, Audit, and Update
So you’ve built the foundation – expertise, authority, trust – and you’ve double‑checked the technical bits. Great, but the work isn’t done. Google’s algorithm is a living thing, and your EEAT signals need a health check on a regular basis.
Ever felt that uneasy moment when you glance at your analytics and see a dip you can’t explain? That’s the cue to pull out your EEAT monitoring kit.
Why Ongoing Monitoring Matters
According to Hobo’s EEAT review, trust is the single most important pillar – if Google can’t verify who you are, everything else falls flat. In practice, that means a fresh backlink, a new author bio, or even a broken schema tag can tip the scales.
Think of it like a car’s maintenance schedule. You wouldn’t skip oil changes because the engine still runs, right? Same idea here: a quarterly EEAT audit keeps the engine humming.
Step‑by‑Step Monitoring Routine
1. Set a Calendar Reminder. Mark the first Monday of each month as “EEAT Check‑In.” A quick 30‑minute window is enough if you’ve built a checklist.
2. Run a Site‑wide Crawl. Tools like Screaming Frog or your own AI‑driven audit can flag missing schema, broken canonical tags, or pages still serving http.
3. Verify Author Signals. Pull a report of every published piece and confirm that each Person schema includes name, jobTitle, and sameAs links. If a new writer joins the team, add them instantly.
4. Scan for Trust Red Flags. Look for any “noindex” on high‑value pages, missing SSL warnings, or outdated trust badges. A single insecure page can cast doubt over the whole domain.
5. Audit External Validation. Use a backlink tool to see which domains are linking to you. Are any of those sources low‑quality or spammy? If so, disavow or request removal.
Real‑World Example: A Sustainable Kitchen Brand
Imagine your eco‑friendly cookware store just added a new line of bamboo utensils. After publishing the guide, you notice a 12% traffic dip in the following week. Your monthly EEAT check reveals a missing Person schema on the new author’s bio – the author’s LinkedIn wasn’t linked, so Google can’t confirm expertise. Adding the schema and re‑submitting the page restores the traffic within two weeks.
That tiny oversight shows how a single audit item can protect weeks of organic growth.
Automation Without Losing the Human Touch
If you’re juggling dozens of pages, manual checks become a bottleneck. That’s where a practical guide to optimizing for AI search can help you set up automated alerts. Your system can ping you when schema validation fails or when a new backlink from a low‑authority site appears.
But keep the human eye in the loop. Automated tools flag, you decide. A quick skim of the flagged items ensures you’re not chasing false positives.
Quarterly Deep Dive
Every three months, go beyond the checklist and run a “trust health” audit:
- Compare current EEAT scores against the baseline you set after Step 4.
- Identify any new content that lacks experience details – add case studies or behind‑the‑scenes photos.
- Refresh outdated credentials (e.g., a certification that’s been renewed).
- Update trust badges if a new industry award arrives.
Document the findings in a simple spreadsheet: column for page URL, EEAT issue, action taken, and date resolved. Over time you’ll see patterns – maybe a certain content type always forgets author bios – and you can lock that process down.
Quick “Do‑It‑Now” Sprint
Pick one high‑traffic page right now. Open the source, run these five checks:
- Is the page served over HTTPS?
- Does the author block show a photo, bio, and schema?
- Are all outbound links still live and reputable?
- Is there a trust badge or certification displayed?
- Does the page appear in Google Search Console’s “Coverage” without errors?
Fix anything that trips you up, then re‑run the audit. You’ll feel an instant confidence boost – and Google will notice, too.
Remember, monitoring isn’t a one‑off chore; it’s the safety net that turns a solid EEAT foundation into a resilient, long‑lasting ranking asset.
FAQ
What exactly is an EEAT SEO checklist and why should I care?
An EEAT SEO checklist is simply a short list of things you verify before publishing so Google can see your expertise, experience, authority, and trust. Think of it as a pre‑flight safety scan: you check the pilot’s license, the aircraft’s maintenance log, and the weather report. If any of those are missing, your page might never lift off in the rankings, no matter how great the copy feels.
How often should I run my EEAT checklist?
Treat it like a quarterly health exam for your site. At a minimum, run the full checklist every three months, and run a quick “Do‑It‑Now” sprint whenever you add a new author, publish a major guide, or roll out a redesign. A brief monthly scan of the high‑traffic pages catches broken schema or expired badges before they start hurting your traffic.
Which parts of my content usually fail the EEAT test first?
Most teams discover the author block is the weakest link – missing photos, vague bios, or no schema. Outbound links are another common culprit; dead or low‑quality references instantly drop trust. Finally, trust signals like HTTPS, contact info, or up‑to‑date certification badges are often overlooked during a rush to publish, and Google flags those gaps quickly.
Can I automate parts of the EEAT checklist without losing the human touch?
Absolutely. Use a simple script or a content‑engine that flags missing Person schema, checks for broken outbound URLs, and verifies that every page serves over HTTPS. The tool can raise an alert, but you still review the author bio, add personal anecdotes, and swap in real photos. Automation handles the grunt work; you keep the authentic voice.
How do I prove author experience when I don’t have formal credentials?
Real‑world results speak louder than degrees. Include specific projects, measurable outcomes, or a short video of the author testing the product. Link to a case study, a client testimonial, or a LinkedIn post that shows the author’s hands‑on work. Even a “10‑year hobbyist” line feels credible when you back it with screenshots or a behind‑the‑scenes photo.
What’s the best way to display trust badges so Google notices them?
Place badges near the headline or at the end of the article where they’re visible without scrolling. Use proper alt text that describes the award – for example, “Eco‑Friendly Product Association certified badge.” Add a tiny schema snippet that tags the badge as a award so Google can read it directly from the HTML.
How do I know if my EEAT improvements are actually moving the needle?
Set a baseline in Google Search Console – note impressions, clicks, and average position for the pages you’ve optimized. After you’ve updated the EEAT signals, give it a two‑week window and compare the metrics. A modest lift in click‑through rate or a bump in average position usually means Google trusts the page a bit more. Keep tracking quarterly to see the trend.
Conclusion
If you’ve made it this far, you probably feel the EEAT checklist is less a chore and more a secret sauce for consistent rankings.
Think about the last time a piece of content you trusted suddenly vanished from the SERPs – odds are a missing author schema or a broken trust badge was to blame.
By now you’ve added bios, schema, HTTPS, and a quick audit routine – those aren’t just checkboxes, they’re tiny confidence deposits that add up day after day.
So, what’s the next move? Grab the EEAT checklist you just built, stick it on your editorial board’s Kanban, and make a habit of scanning every new article before it goes live.
When a piece passes the list, you’ll notice higher click‑through rates, steadier rankings, and fewer surprise drops – proof that Google trusts what you’ve shown it.
Remember, EEAT isn’t a one‑time project; it’s a living checklist that grows with your brand. Keep it fresh, keep it real, and let the results speak for themselves.
If you’re ready to stop guessing and start automating, consider a tool that flags missing signals automatically – that way you spend more time creating great content and less time hunting for gaps.
Happy optimizing! You've got this.