Ever felt stuck staring at a blank screen, wondering how to turn a keyword into a full‑fledged article without spending hours on research?
You're not alone. Many digital marketers and bloggers admit that the biggest time sink is gathering the right topics, angles, and SEO cues before they even start writing.
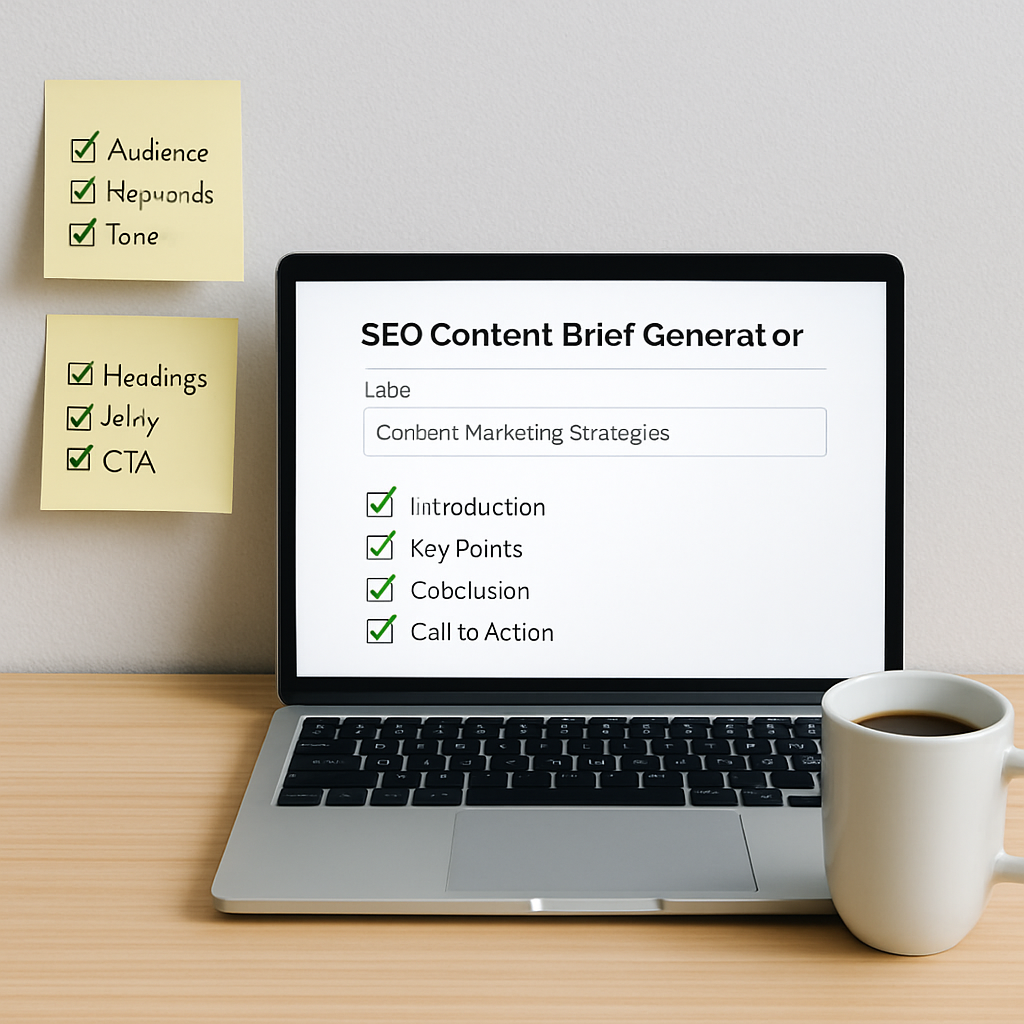
That's where a seo content brief generator comes in – it takes the guesswork out of the pre‑writing phase and hands you a ready‑to‑use blueprint.
Imagine opening a brief that already tells you the target keyword density, suggested headings, competitor insights, and even a handful of ready‑made sub‑points. No more endless spreadsheet tabs or scattered notes.
And the best part? The tool learns from your niche, so the suggestions feel personalized rather than generic.
But how does this actually change your day‑to‑day workflow? First, you cut the research time in half. Second, you get a consistent structure that keeps every piece of content on brand and on‑point. Third, you free up mental bandwidth to focus on the creative part – the writing itself.
Think about the last time you launched a blog post that performed well. Did you have a solid outline before you typed the first sentence? If not, chances are you spent extra hours revising and tweaking.
Now picture replicating that success with every article, simply by clicking "generate brief" and diving straight into the content.
For a deeper dive into what makes a great brief, check out 8 Powerful Features of an AI Content Brief Generator to Enhance Your Writing Workflow. It breaks down the exact elements that turn a vague idea into an SEO‑ready plan.
So, does a brief really make that much of a difference? In practice, teams report faster turnaround, higher on‑page SEO scores, and more confidence when publishing.
If you're ready to stop guessing and start building content with purpose, the next step is to try out a brief generator on a low‑stakes topic and see how the workflow shifts.
Let's dive in and explore the core components of an effective seo content brief generator, so you can start seeing results from day one.
TL;DR
An seo content brief generator transforms chaotic ideas into clear, SEO‑ready outlines, slashing research time and letting you write faster with confidence. Try generating a brief for a low‑stakes topic today and watch your workflow shift from guesswork to purposeful, high‑impact publishing in just minutes and immediately see measurable results.
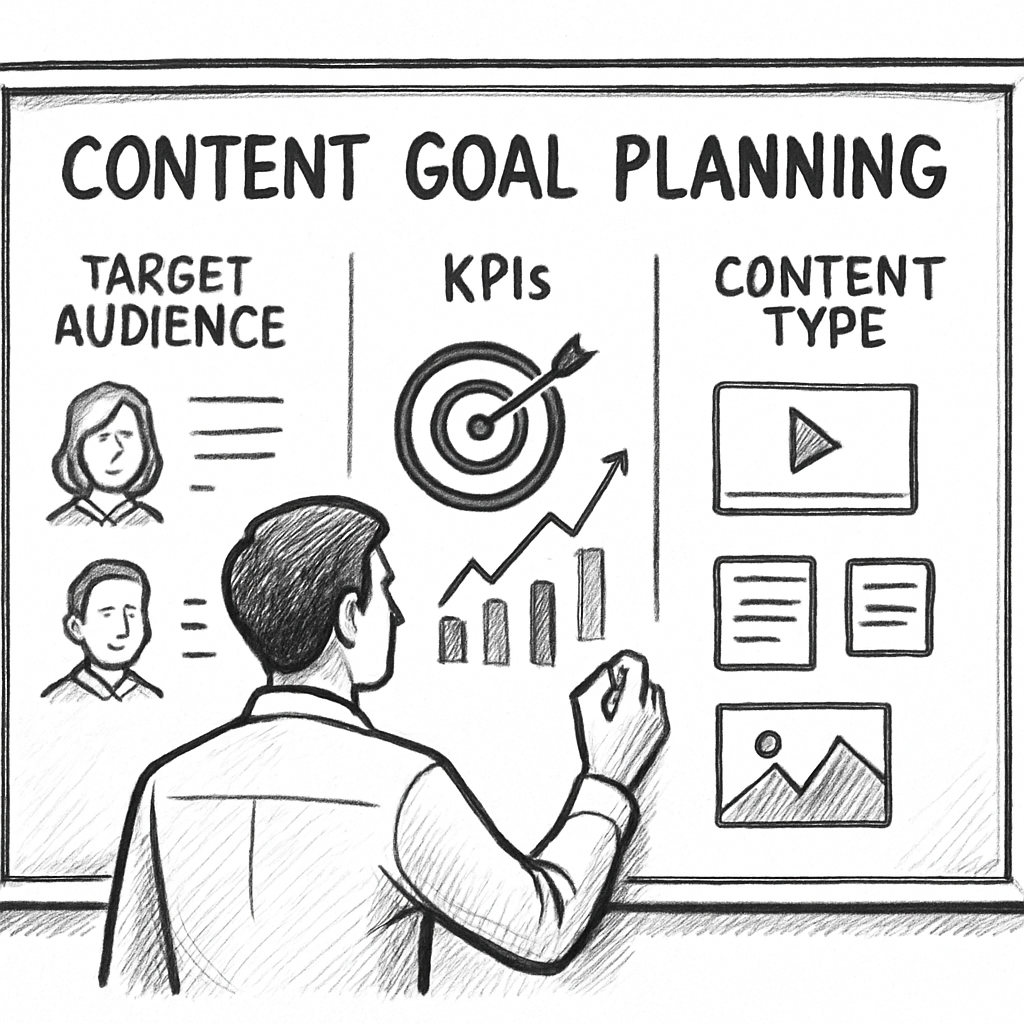
Step 1: Define Your Content Goals
Ever sat down with a fresh keyword and felt the pressure of figuring out *why* you’re writing about it? That moment of hesitation is what we’re trying to eliminate. Before you even fire up the seo content brief generator, you need a crystal‑clear purpose.
Think about the last piece you published that actually moved the needle – maybe it boosted newsletter sign‑ups or drove a product demo request. What was the underlying goal? If you can name it, you already have the first building block of a solid brief.
1️⃣ Pinpoint the business objective
Ask yourself: What do I want this content to accomplish? Common objectives include:
- Generate organic traffic for a specific keyword cluster.
- Capture leads via a gated resource.
- Support a product launch by educating prospects.
- Strengthen internal linking to boost overall site authority.
Write the objective in one sentence – e.g., “Increase organic traffic to the “keyword research tools” page by 20% in the next 90 days.” That sentence becomes the north star for every subsequent decision.
2️⃣ Identify the target audience (and their pain points)
Imagine you’re chatting with a mid‑sized e‑commerce manager who’s juggling ad spend and SEO. What keeps them up at night? Probably “how do I rank for high‑intent product keywords without blowing the budget?” Your brief should capture that exact frustration.
Break the audience down into three quick data points:
- Who – role, company size, experience level.
- What – main challenge or question they have.
- Why – the outcome they care about.
Example: “Digital marketing managers at SaaS firms (30‑100 employees) struggle to allocate content resources efficiently; they need a repeatable process that guarantees traffic growth.”
3️⃣ Set measurable KPIs
Goals without numbers are just wishes. Decide on at least one KPI you can track after publishing. It could be:
- Organic clicks (Google Search Console).
- Time on page (Google Analytics).
- Conversion rate from the article’s CTA.
- Backlink acquisition count within 30 days.
When you feed these KPIs into the step‑by‑step guide for automating SEO content creation, the generator tailors suggestions that align with your metrics.
4️⃣ Choose the content type and tone
Is this a “how‑to” guide, a case study, or a listicle? The format influences everything from word count to heading hierarchy. For a how‑to piece, you’ll likely need a clear step‑by‑step flow; for a case study, you’ll focus on narrative and data points.
Match the tone to the audience’s expectations – conversational for blog readers, more formal for B2B whitepapers. A quick tip: write a one‑sentence “voice note” like, “We’re friendly, data‑driven, and a little cheeky,” and stick it in the brief.
5️⃣ Draft a concise goal statement for the generator
Now that you have the pieces, combine them into a single prompt for the seo content brief generator. Here’s a template you can copy‑paste:
Goal: Increase organic traffic to the "keyword research tools" page by 20% in 90 days.
Audience: SaaS marketing managers (30‑100 employees) looking for cost‑effective SEO tactics.
KPIs: Organic clicks, average time on page, inbound links.
Content type: 1,500‑word how‑to guide with 5 actionable steps.
Tone: Conversational, data‑backed, slightly witty.
Plug that into the generator and watch it spin out a structured outline, suggested headings, and even internal link ideas.
6️⃣ Validate with real‑world data
Before you lock the brief, glance at recent performance data. If your last “keyword research” article pulled 2,300 monthly visitors and a 3% conversion rate, aim to beat those numbers. A quick audit of competitor SERPs (you can use free tools or the insights from CoSchedule’s brief generator overview) will also reveal gaps you can exploit.
Remember, the clearer your goals, the less “revision loop” you’ll endure later. Teams that define goals up front report 30% fewer rewrites, according to industry surveys.
Once your goal statement feels solid, hit “Create Brief.” The rest of the workflow – outlining, drafting, optimizing – becomes a straight line rather than a maze.
So, what’s the next move? Write down your objective, audience, KPI, and tone in a single paragraph. Then feed it to the seo content brief generator and let the AI do the heavy lifting.
Step 2: Identify Target Keywords
Alright, you’ve set a goal, you know who you’re talking to – now it’s time to dig up the words that will actually bring those people to your page.
Why keyword research still matters
Even with an seo content brief generator doing the heavy lifting, the engine needs a solid list of seed keywords to spin into headings, sub‑points, and internal link ideas. Think of it as giving the chef the right ingredients before they start cooking.
Without the right keywords you’ll end up with content that looks great on paper but never shows up in search results. And that’s a waste of both time and ad spend.
Step‑by‑step: Pulling your seed list
1️⃣ Start with your core goal. If your objective is “increase organic traffic to the keyword research tools page,” jot down the exact phrase “keyword research tools.” That exact phrase is your primary seed.
2️⃣ Brainstorm variations. Ask yourself: how would my target audience phrase the problem? “best keyword research tool,” “free keyword planner,” “how to find low‑competition keywords.” Write every synonym, question, and long‑tail phrase that pops up.
3️⃣ Leverage free tools. Google’s autocomplete, “People also ask,” and the “Related searches” box at the bottom of SERPs are gold mines. Jot down the suggestions you see – they’re already validated by real users.
4️⃣ Check search volume and difficulty. Plug your list into a free keyword planner or a limited‑feature tool. Aim for terms with decent monthly volume (hundreds to a few thousand) and a competition score you can actually beat.
5️⃣ Prioritize intent. Not all traffic is equal. A phrase like “buy keyword research software” signals commercial intent, while “what is keyword research” signals informational intent. Match the intent to the content type you defined in Step 1.
Group and map keywords to the brief
Once you have a shortlist (usually 8‑12 terms), cluster them by theme. One cluster might be “keyword research basics,” another “advanced competitor analysis.” This clustering will become the backbone of your outline – each cluster can turn into a major heading.
When you feed these clusters into the seo content brief generator, the tool will auto‑populate sub‑headings, suggest related questions, and even recommend internal links that keep readers moving deeper into your site.
Practical tip: Use the “keyword gap” trick
Look at a competitor who’s ranking well for a term you missed. Open their page, scroll to the headings, and note any keyword you hadn’t considered. Add it to your list if it fits your intent.
That little audit can add 2‑3 high‑value terms to your brief without any extra cost.
Validate with real‑world data
Before you lock the list, run a quick check in Google Search Console to see if any of your seed terms already bring a smidge of traffic. If they do, you’ve got a baseline to improve on.
And if you need a refresher on how to turn those terms into a full brief, this article walks through the whole process step‑by‑step: How to Effectively Use an Automated SEO Article Generator with Backlink Building.
Quick checklist before you hit “Generate Brief”
- Primary keyword (exact match) included.
- 3‑5 long‑tail variations with clear intent.
- At least one commercial‑intent term if you aim for conversions.
- All terms grouped into logical clusters.
- Search volume and difficulty checked.
Tick those boxes, paste the list into your brief generator, and let the AI do the rest. You’ll end up with an outline that’s already SEO‑aligned, saving you hours of manual tweaking.
Step 3: Outline the Brief Structure
Now that you’ve nailed down your goals and gathered a solid keyword list, it’s time to turn those raw ideas into a skeleton the writer can actually follow. Think of the brief structure as the blueprint for a house – without a clear floor plan, you’ll end up with rooms that don’t line up.
1️⃣ Turn keyword clusters into headline ideas
Start by looking at the clusters you created in Step 2. Each cluster becomes a major heading (H2) that addresses a distinct sub‑topic. For example, if your clusters are “keyword research basics,” “advanced competitor analysis,” and “free tool roundup,” you’d end up with three H2s that guide the reader through a logical progression.
Why does this matter? A well‑ordered outline signals to Google that your content covers the whole search intent, which often translates into higher rankings.
2️⃣ Add depth with sub‑headings (H3/H4)
Under each H2, break the idea down into bite‑size sections. Use H3s for steps, tips, or FAQs, and reserve H4s for quick “did you know?” nuggets. Let’s say your “keyword research basics” H2 includes H3s like “What is keyword intent?” and “How to use Google’s autocomplete.” This hierarchy not only helps readers skim, it also gives search engines clear signals about topic hierarchy.
3️⃣ Plug in the data points the generator recommends
Most seo content brief generators will suggest a target word count, a primary keyword density, and even a meta description. Take those suggestions at face value, then adjust based on your audience. If your audience prefers quick reads, trim the word count; if they’re looking for deep expertise, let the count climb.
According to Semrush’s SEO Brief Generator, the tool pulls real‑time SERP data to suggest a word count that matches top‑ranking pages. Using that benchmark keeps you in the same competitive ballpark.
4️⃣ Sprinkle EEAT elements throughout
Google loves content that demonstrates Expertise, Authority, and Trustworthiness. Allocate sections for author bios, data sources, and external citations. A quick table of “keyword intent vs. search volume” can act as a visual proof point, while a short author bio at the end adds credibility.
Swiftbrief notes that their brief creator “accounts for EEAT factors like contextual keyword mapping, internal linking, authority, and brand integration” to boost rankings (Swiftbrief).
5️⃣ Map internal links before you write
Before the first sentence lands on the page, decide where you’ll link to other relevant articles on your site. Add a placeholder note under the appropriate heading, like “[Insert link to ‘Ultimate Guide to Long‑Tail Keywords’]”. This habit ensures you never forget to build a tighter site ecosystem.
6️⃣ Include actionable takeaways
Every H2 should end with a clear, doable step. For instance, after the “Advanced competitor analysis” section, you might add: “Download the competitor SERP spreadsheet, highlight three gaps, and add them to your next content calendar.” Readers love that feeling of finishing a mini‑mission.
7️⃣ Checklist – your final sanity‑check
- All keyword clusters turned into H2 headings.
- Each H2 contains 2‑4 H3 sub‑headings that cover questions, steps, or examples.
- Word count aligns with the generator’s recommendation.
- EEAT elements (author bio, data table, citations) are placed.
- Internal‑link placeholders are added.
- Each section ends with a concrete action point.
Once you’ve ticked those boxes, copy the outline into your seo content brief generator, hit “generate,” and watch the AI fill in the gaps – titles, meta tags, even suggested paragraph hooks. The result is a ready‑to‑write brief that saves you hours and keeps your SEO on point.
So, what’s the next move? Open a fresh document, paste the checklist above, and start mapping your clusters to headings. You’ll be surprised how quickly the structure falls into place, and you’ll have a solid roadmap that even a junior writer could follow without missing a beat.
Step 4: Choose the Right Generator Tool
Now that you’ve got your goals, audience, and keyword clusters lined up, the next question is simple: which seo content brief generator actually does the heavy lifting for you? It’s tempting to click the first shiny option you see, but the right tool should feel like a trusty sidekick, not a mystery box.
First, ask yourself what matters most in your day‑to‑day workflow. Do you need a tool that spits out a full brief in seconds, or one that lets you tweak each section before you hit generate? Do you crave a visual dashboard, or are you happy with a clean text export? Your answers will narrow the field fast.
1️⃣ Define your must‑have features
Make a quick checklist. Here are the most common criteria marketers swear by:
- AI‑driven keyword mapping that pulls real‑time SERP data.
- Built‑in EEAT prompts (author bio, source citations, data tables).
- One‑click internal‑link suggestions for your existing content.
- Export formats that match your CMS (Word, Google Docs, Markdown).
- Pricing that scales with your content volume.
Grab a sticky note, write down the top three, and keep it handy while you browse options.
2️⃣ Test the user experience
Most generators offer a free trial or a sandbox mode. Spend 10‑15 minutes creating a dummy brief for a low‑stakes keyword. Pay attention to these signals:
- Is the UI intuitive, or do you need a tutorial for every button?
- Does the tool ask for the audience, tone, and KPI you already defined?
- How long does it take to generate a complete brief? Seconds vs. minutes can add up.
If the experience feels clunky, you’ll waste more time fixing the output than you save.
3️⃣ Compare data accuracy
Accuracy matters because a brief that’s off‑target will send your writer down a rabbit hole. Look for tools that pull data from reputable sources (Google Search Console, Ahrefs, SEMrush) and that let you see the raw metrics behind each recommendation.
One solid example of a third‑party description of an AI brief generator can be found on SEO Review Tools, which explains how the tool assembles audience details, keyword intent, and suggested headings in a single click.
4️⃣ Consider integration with your existing stack
If you already use a content calendar, a project manager, or a backlink platform, the generator should slot in without forcing you to rebuild processes. Look for Zapier, API, or native plugin options.
For a deeper dive into how an AI brief can streamline your workflow, check out how an automated SEO and content marketing platform transforms your digital strategy. It walks through real‑world use cases that line up nicely with the checklist above.
5️⃣ Evaluate support and community
Even the best AI can spit out weird phrasing. A responsive support team and an active user community can save you hours of frustration. Scan the tool’s help center, read a few forum threads, and see how quickly you get answers.
When you’ve scored each option against your checklist, rank them 1‑5. The highest‑scoring tool is usually the one that aligns with both your technical needs and your personal workflow style.
So, what’s the next move? Grab that checklist, run a quick trial, and lock in the generator that feels like a natural extension of your brain.
Once you’ve picked the right tool, you’ll notice two things: the brief pops out faster, and the quality of the outline is higher. That translates to less back‑and‑forth with writers and more time for you to focus on strategy.
Ready to make a decision? Here’s a quick comparison table to help you visualize the trade‑offs.
| Criterion | Tool A | Tool B |
|---|---|---|
| AI keyword mapping | Real‑time SERP data | Static keyword list |
| EEAT prompts | Built‑in author bio & citation fields | Manual insertion only |
| Internal‑link suggestions | Auto‑suggested links from your site | No link suggestions |
Step 5: Customize and Export the Brief
Alright, you’ve got a skeleton outline, the keywords are mapped, and the tone is set. Now the real fun begins – tweaking the brief so it feels like it was written just for your brand, and then getting it out of the tool in a format your team can actually use.
5.1 Fine‑tune the headline hierarchy
First, scan each H2 and H3. Does the wording sound like the way you’d talk to a client over coffee? If you see something like “Utilize Advanced Keyword Strategies,” you might re‑phrase it to “How to Use Advanced Keyword Strategies (Without Getting Overwhelmed).” Small changes like adding “you” or “your” make the brief feel personal and give the writer a clear voice cue.
Tip: keep your H2s under 70 characters – that’s the sweet spot for Google’s SERP snippets and it helps writers stay focused.
5.2 Add EEAT breadcrumbs
Even if your generator already suggests author bios and citation fields, take a moment to populate them. Drop a one‑sentence author bio that highlights real expertise (“Jane Doe, SEO strategist with 8 years of e‑commerce experience”). Then, list at least two credible data sources – maybe a recent industry report or a case study you’ve published.
Why? Search engines love visible proof of expertise, and writers won’t have to hunt for it later.
5.3 Insert contextual notes and examples
Imagine you’re handing this brief to a junior writer who’s never covered “keyword gap analysis.” Add a short note under the relevant heading: “Show a quick example using the Ahrefs Keywords Explorer screenshot – highlight the ‘Keyword Difficulty’ column.” Real‑world examples act like cheat codes; they cut revision cycles dramatically.
Another good habit is to flag any industry‑specific jargon that needs a layman’s definition. A bracketed note like “[Explain ‘search intent’ in plain language]” saves the writer from guessing.
5.4 Customize the meta bundle
Most generators spit out a meta title and description, but you should still review them. Does the title include the primary keyword and a compelling hook? Try something like “Ultimate Guide to Keyword Gap Analysis – Boost Your Rankings in 2025.” For the description, aim for 150‑160 characters and include a call‑to‑action (“Download the free template”).
Remember, a well‑crafted meta tag can add up to 10 % more click‑throughs, according to industry observations.
5.5 Choose the right export format
Now, think about where the brief will live. If your team writes directly in Google Docs, hit the “Export to Google Docs” button. If you prefer a markdown‑friendly workflow for your CMS, choose the Markdown option. Some tools also let you download a CSV of keyword metrics – handy for quick reference during the writing sprint.
Pro tip: export both a clean version for the writer and a “master” version that includes all the notes, data tables, and internal‑link placeholders. Keep the master in a shared folder for future audits.
5.6 Run a quick quality checklist before you hit “Send”
- All headings are conversational and under 70 characters.
- EEAT elements (author bio, data sources) are filled.
- Contextual examples or screenshots are noted.
- Meta title & description include the primary keyword and a hook.
- Export format matches your team’s workflow.
- Internal‑link placeholders are in place where relevant.
Run through this list in under a minute – it’s like a final polish before you hand over the brush.
5.7 Deliver the brief and set expectations
Once exported, drop the file into your project management tool (Trello, Asana, Monday.com) and tag the writer. Include a short message: “Hey — this brief is ready. Focus on the three action steps at the end of each section and keep the tone friendly but data‑driven.” Setting that expectation up front cuts back‑and‑forth emails.
And that’s it. By customizing the brief before you export, you turn a generic AI output into a living document that guides the writer, satisfies search engines, and keeps your content pipeline humming.
Step 6: Implement and Track Performance
Alright, you’ve got a solid brief in hand – now it’s time to turn those ideas into real traffic and conversions.
Implementation isn’t just “copy‑paste and publish.” It’s a tiny project of its own, with its own checkpoints and numbers to watch.
Set up the publishing workflow
First, drop the brief into your writer’s preferred editor (Google Docs, Markdown, whatever you use). Add a quick comment with the primary keyword “seo content brief generator” and remind the writer to keep the headline under 70 characters.
Next, create a publishing calendar entry. Schedule the go‑live date, assign a reviewer, and lock in the meta title and description you crafted in the brief.
Does this feel like extra work? Think of it as a safety net that catches missteps before they cost you clicks.
Hook up analytics before you hit “Publish”
Open Google Search Console and add the URL to the “Performance” report as a new page. This gives you a baseline for impressions, clicks, and average position.
In Google Analytics, set up a custom segment for visitors who land on that page and then scroll at least 50 % – that’s your “engaged” metric.
Finally, create a UTM tag that includes the brief’s identifier (e.g., utm_source=brief&utm_medium=seo‑generator) so you can trace traffic back to the generator later.
Launch and monitor the first 48 hours
Once the article is live, check the Search Console report every few hours. If you see zero impressions after a day, double‑check that the canonical tag isn’t pointing elsewhere.
Look at the click‑through rate (CTR). A CTR below 2 % usually means the meta title isn’t compelling enough – tweak it and resubmit the page for indexing.
Remember, small tweaks in the first two days can boost visibility faster than waiting a week.
Weekly performance checklist
- Impressions vs. baseline – aim for a 10‑15 % lift each week.
- Average position – try to move at least one spot upward on the primary keyword.
- Engaged sessions (50 % scroll) – a healthy range is 30‑40 % of total visits.
- Conversion actions tied to the CTA – track form fills, downloads, or demo requests.
If any metric stalls, go back to the brief and ask: “Did we miss a secondary keyword or internal link?” Adding a relevant internal link can often lift rankings within a few days.
Leverage the brief’s data for future content
After a month, export the performance data into a simple spreadsheet. Highlight what worked (e.g., the “how‑to” heading that drove the most clicks) and what didn’t (maybe a long‑tail term that never showed up).
Feed those insights into your next “seo content brief generator” run. The generator will start suggesting better headings because it now has real‑world performance signals to learn from.
In fact, teams that tie brief creation to ongoing analytics report fewer revisions and faster ranking gains according to a recent content‑brief best‑practice guide.
Automation tips (optional)
If you’re comfortable with Zapier or a simple webhook, you can auto‑populate a Google Sheet with the Search Console metrics each week. That sheet becomes your “performance dashboard” without any manual copy‑pasting.
Or set a Slack reminder that pings you every Monday to review the checklist above. Small nudges keep the momentum alive.
So, what’s the next move? Publish the article, lock in your tracking tags, and spend the next 48 hours watching the data breathe. The sooner you act on the numbers, the faster your “seo content brief generator” workflow will pay off.
FAQ
What exactly is an seo content brief generator and how does it help me?
Think of it as a digital notebook that takes your goal, audience, and keyword list, then spits out a ready‑to‑write outline. You get headline ideas, sub‑headings, meta tags, and even internal‑link suggestions without staring at a blank screen.
Because the brief already aligns with search intent, you spend far less time researching and more time actually writing the content that converts.
Do I need any technical skills to use a brief generator?
Not at all. Most tools are built for marketers, not developers. You just fill in a few fields—goal, target keyword, tone—and click generate.
If you’re comfortable with Google Docs or a simple markdown editor, you can copy the output straight into your workflow. The learning curve is usually a handful of minutes, not hours.
Can a brief generator handle multiple keywords or just one primary term?
Good question. A solid generator lets you paste a short list of seed keywords. It then clusters them into themes and creates separate H2 sections for each cluster.
The result is a single, cohesive article that ranks for several related queries, boosting your overall visibility without extra effort.
How does the generator ensure the content is SEO‑friendly?
Behind the scenes the AI pulls real‑time SERP data, checks search volume, and evaluates keyword difficulty. It then recommends optimal word counts, keyword placement, and meta descriptions that match the top‑ranking pages.
By following those cues, you’re essentially giving Google a clear signal that your piece satisfies the user’s intent, which can improve rankings faster.
Will the brief suggest internal links, and why does that matter?
Yes, most generators scan your own site and drop placeholder notes like “[Insert link to ‘Keyword Research Basics’]” right where they make sense.
Those internal links keep readers moving deeper into your site, spread link equity, and signal to search engines that your content is part of a larger, authoritative hub.
How often should I update the brief after publishing?
Treat the brief as a living document. Check performance in Search Console after a few weeks—look at impressions, clicks, and average position.
If a heading isn’t pulling traffic, tweak the keyword or add a new sub‑heading. Small adjustments every month keep the article fresh and can nudge rankings upward.
Is there a risk of the AI generating generic or “fluffy” copy?
The generator gives you a structure, not the final prose. It’s up to you to inject brand voice, real examples, and data points.
When you customize the headings and add personal anecdotes, the content feels authentic and avoids the sterile tone some AI‑only pieces suffer from.
Conclusion
So, you've walked through every step of turning a raw idea into a polished piece of content.
By now you know that a solid seo content brief generator does more than spit out headings – it gives you a roadmap that aligns audience pain points, keyword intent, and internal linking opportunities.
When the brief is clear, writers spend less time guessing and more time adding the human touches that Google loves.
Remember the three core habits: define a concrete goal, cluster your keywords into logical sections, and bake in a quick action at the end of each H2.
Those habits keep the article focused, boost its EEAT signals, and make it easy to update as performance data rolls in.
If you’re wondering what to do next, start by feeding your latest keyword list into the generator and watch the outline fill itself out.
Then sprinkle in a real example from your own dashboard, tweak the meta description, and publish with a single internal‑link placeholder.
In short, the generator is the launchpad – the real power comes from the small, intentional tweaks you add afterward.
Give it a try on your next campaign and see how quickly you move from draft to ranking.